Followers

Sunday, August 19, 2018

Let's Catch Up!

We have had a fun few months before we took our break in July. Now that we are back from our break it is time to get into the swing of things!

But first, here are few photos and brief description of what happened April - June!


APRIL 2018

In April we had a group pow-wow. We discussed many class ideas for the future and held nominations for the Chairperson, Co-Chairperson, Secretary and Blogger.

APRIL SHOW AND TELL!

Melanie Wilson – Quilt called “Starry, Starry Night” – She also recommends a book entitled “Dream
Landscapes” by Rose Hughes, as it gave her the inspiration for the quilt.


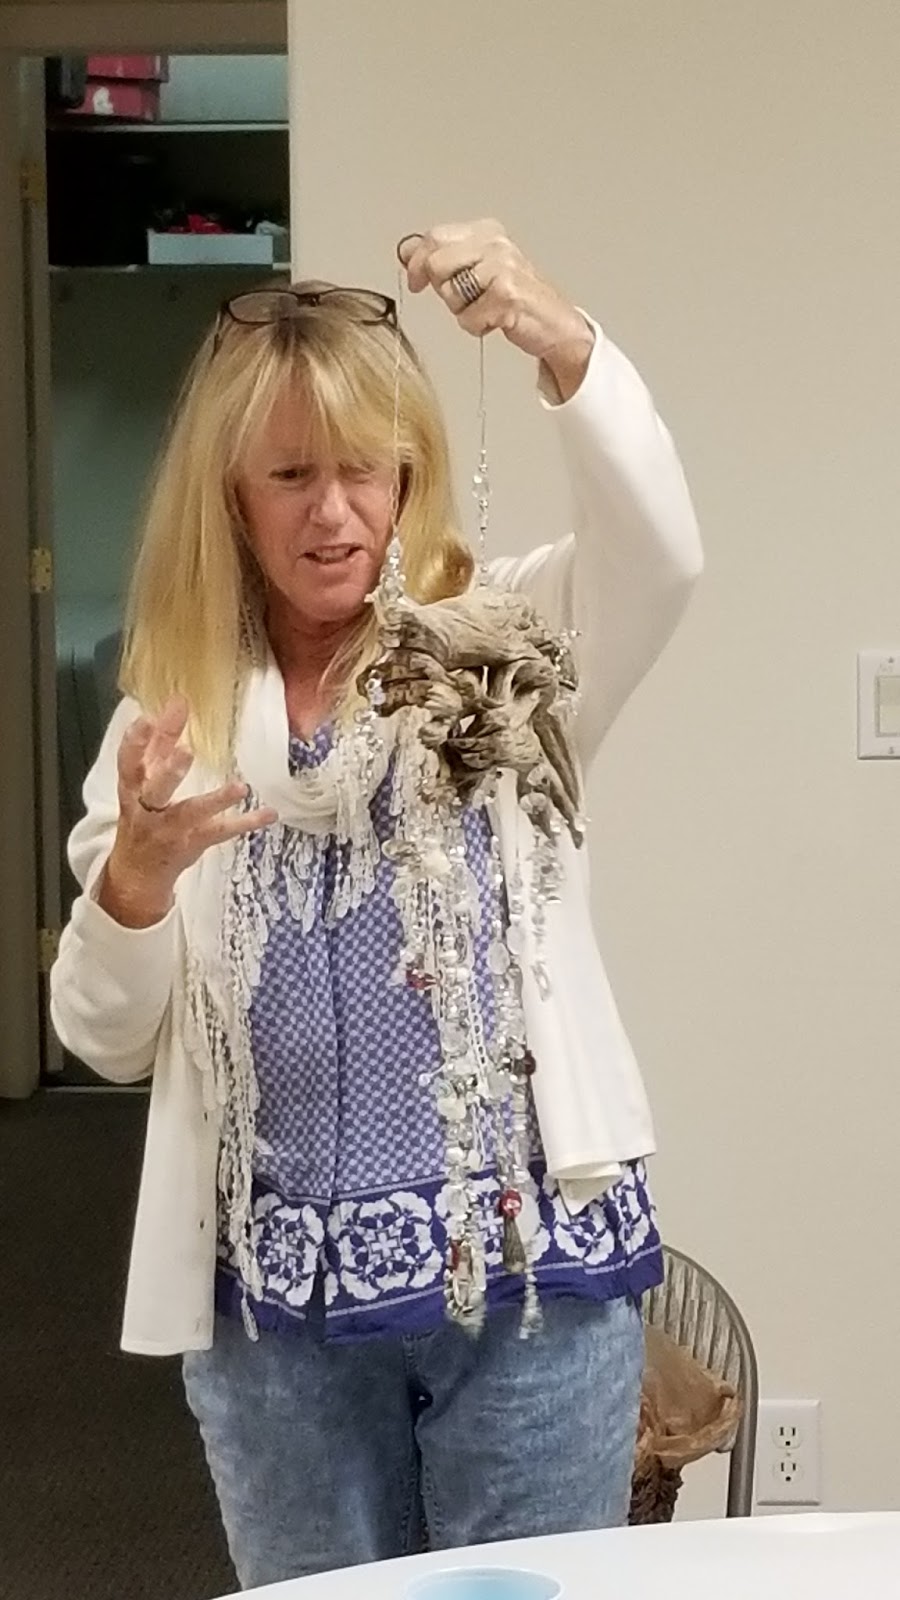
Ila Craig – Beaded necklace.


Doris Claude – Quilt with Dogs on Boogie Boards wearing Hawaiian Shirts.

Images below: Judi Weiss shared books on Zentangle, Japanese Art Books and a book on Machine Quilting. She also brought two more of her fabulous boots.


MAY 2018


Barbara Nilsson gave a lecture and also shared projects she made using Solvy. She shared information regarding different types of Solvy, i.e. Regular (soft), Super (a little stiffer) and Ultra Solvy (twice as thick as regular). Item is a Sulky product and can be found at Joann’s as well as online.
Barbara shared tips such as not rinsing the product in the sink, as it may clog drain. Save remaining solution when you finish rinsing, as you may want to use it later. She said you can make your own fabric by placing yarn, thread, bits of fabric, Angelina, etc., between sheets of Solvy, and then sewing a grid or meandering on top of the product prior to washing the Solvy away. Fabric can be shaped by placing over a bowl, if desired. Allow to air dry. You can also use cheesecloth or gauze for a completely different look.
Other who shared tips and products they made by using Solvy were Shannon Shaw, Cindy Oxley, and Ann Nancarrow.


MAY SHOW AND TELL!


JUNE 2018

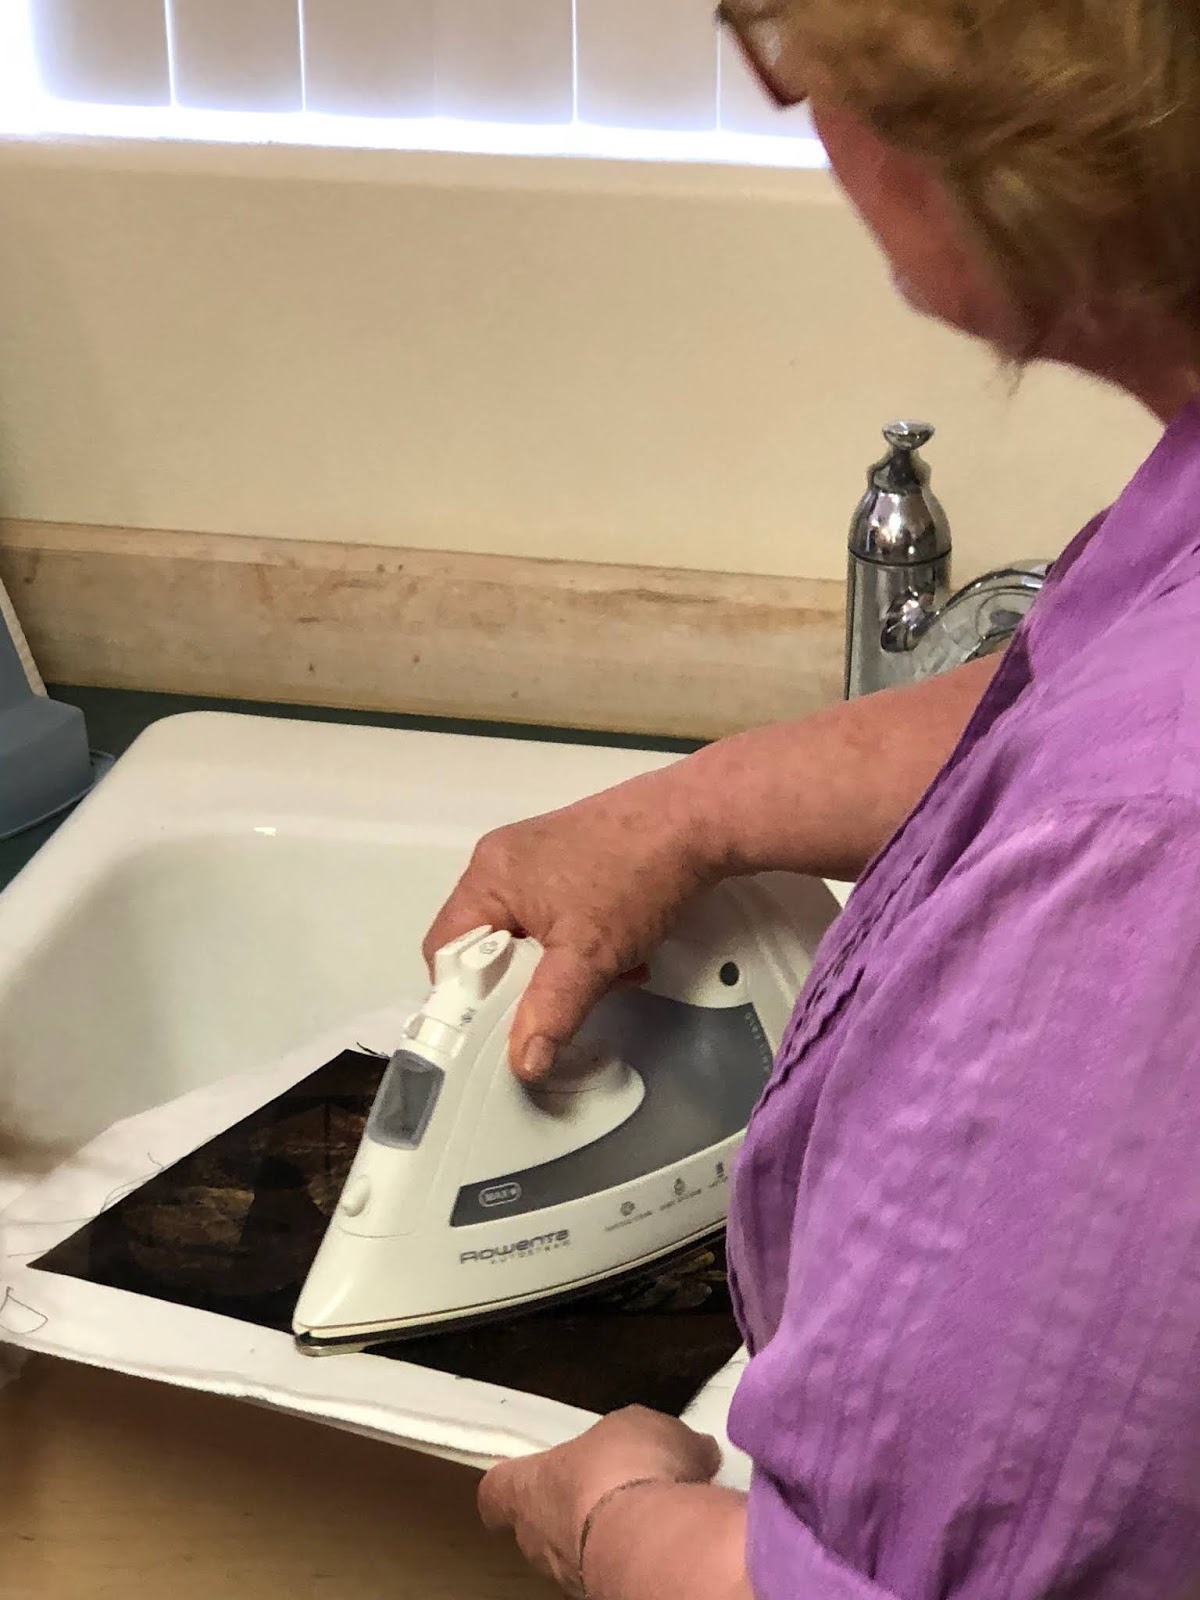
Caroll Lee Stoltz gave an interesting lesson on discharging and different forms of bleach to use on the fabric to do the discharging. Each type of bleach produced different results. It was quite fascinating to see what each form of bleach or type of fabric would make. It is great fun to experiment with—make sure you are in a well ventilated room!—and see what you can create.


JUNE SHOW AND TELL! 

Jan – Solvy Sample
Charlotte: fabric picture
Nickie -sheep picture


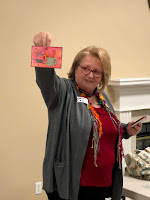
Barbara – greeting cards

Linda Wells – Solvy – tornado picture
Shannon – thread painting


Saturday, August 18, 2018

MARCH SHOW AND TELL


Thursday, February 8, 2018

February's Show and Tell

No small talk.  Let's get to the goods for this month.  A nice variety!  Carroll Lee provides pictures and commentary.  Thanks lady!


Ladies, thank you for sharing!

February. A lesson in Thread Painting


Hello Ladies!

First off,  there were some nice comments related to me about the blog so I want to thank you for your kind thoughts.

This meeting we covered thread painting.  Sue Gilgen headed up this meeting's adventure and everyone I talked to said it was fun, they learned a lot and feel they can now start thread painting with more confidence.  We call that in the learning community "The Magnificent Trifecta".

Sue Gilgen, Carroll Lee Stolz and Margaret Abramshe set up three thread painting demo tables. Each member spent 20-25 minutes at each table. Sue Gilgen showed some of her tips and tricks.  Carrol Lee made a tumbleweed on solvy sandwiched between two pieces of twill.  Margaret  demonstrated casual thread painting on a drawing made on muslin. She demo'ed on a Brother machine to illustrate that you don't need an expensive sewing machine to achieve nice results.  Margaret also talked about thread painting on her Sweet Sixteen so if you have a midarm and missed the meeting - she is a resource.

No pics.  Sorry.  But here is the Info Margaret provided us prior to the meeting that you will find useful as you give thread painting a go:
A thread sketch uses your sewing machines capacity to turn a  line of stitching into a sketch by tracing an image you draw on  cloth.  
Supplies: Sewing machine, set to a basic straight stitch Thread -  my suggestion is a neutral or earth tone like black, dull green, gray,  or brown.  Bobbin thread does not have to match but should be something that does not “show” A scrap of muslin or any white or cream fabric about the size of typing paper or less Pilot  FRIXION erasable pen ( you could also use a quilters marking pencil or pen) Poly batting with fusible on one side.  (temtex works well too) 
 Instructions:
1. Draw a simple sketch of a house or landscape using the erasable pen or print a image that uses simple lines and trace that image. (Hint: look for images that are pencil drawings or sketches). The drawing should be less than 8 x 10 and not very complex.
2. Fuse a good fabric (I use kona cotton) to batting. Place the sketch on the non fusible top of batting.
3. Put this quilt sandwich under you standard foot along a line of the drawing and trace that line a few times. Leave the needle down and continue to trace the lines by moving the quilt sandwich. 
4. Try reversing the stitch direction to darken lines. 
5. DO NOT WORRY ABOUT GOING OUTSIDE OF THE LINE!
6. Without cutting the thread, put your feed dogs down. Push and pull the quilt sandwich along lines that are not straight or areas of your sketch that are shaded. Think of this like scribbling with your sewing machine instead of a crayon. 
7. Play, play and more play with feed dogs up or down.  
When you are done, get out some watercolors or water soluble pencils and color in your picture possibly adding a background. As you color the erasable pen will disappear. 

Now get thread painting because that is your assignment over this month.  Bring your results to the next meeting which will be on March 6th where we will be learning all things beading.  Charm Crumrine and Jan Passek will be teaching.  Charm and Jan, do we need to bring anything for your purposes?